
Guide was written to the Ubuntu OS, but all command for unix systems will be similar.
What is Shipitjs?
Shipijs is a tool for remote deployment of applications and the automation of executing commands locally or remotely on the server.
Shipit was created as an alternative of Capistrano for people who do not know Ruby or have difficulty working with him.
Installing Shipitjs
Chances are you are familiar with the grunt or gulp. Both of them are managers of assembly tasks. They both have a file that is used to determine the tasks. It is gruntfile and gulpfile files. Shipit works the same way with shipitfile and command line interface.
Before installing make sure that you have installed node.js and NPM.
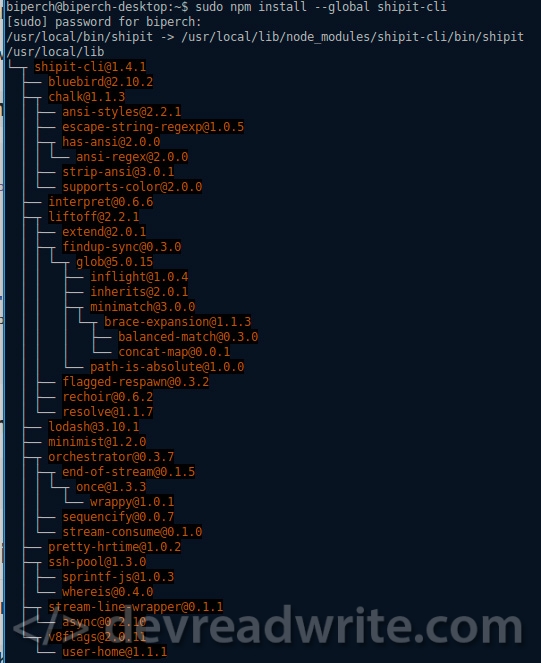
To install shipitjs need to execute next command in the console:
$ sudo npm install --global shipit-cli
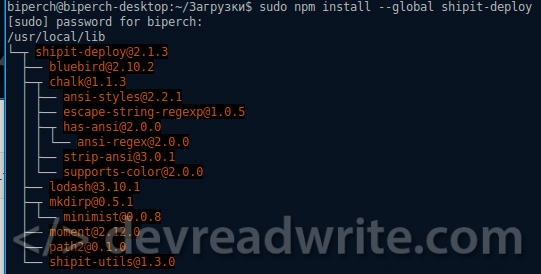
Installing shipit-deploy:
$ sudo npm install --global shipit-deploy
You need update GIT to the latest of version. Else in the future you may have some problems. Moreover, they warn about the update:

Connecting to systems with actual repository of git:
sudo sh -c 'echo "deb http://ppa.launchpad.net/git-core/ppa/ubuntu $(lsb_release -cs) main" > /etc/apt/sources.list.d/git.list'
sudo apt-get update
sudo apt-get upgrade
If you see an error like:
W: GPG error: http://ppa.launchpad.net precise Release: The following signatures couldn't be verified because the public key is not available: NO_PUBKEY A1715D88E1DF1F24
This means that key of repository was changed or we did not have such a key. We are requesting him with keyserver.ubuntu.com and update the list of available programs:
sudo apt-key adv --keyserver keyserver.ubuntu.com --recv-keys A1715D88E1DF1F24
sudo apt-get update
sudo apt-get upgrade
Where A1715D88E1DF1F24 - key.
Script for deploy shipitfile.js
Create shipitfile.js file in the project root and fill it with the following code.
module.exports = function (shipit) {
  require('shipit-deploy')(shipit);
  shipit.initConfig({
    default: {
      workspace: '/tmp/github-monitor',
      deployTo: '/var/www/site',
      repositoryUrl: 'https://github.com/user/repo.git',
      ignores: ['.git', 'node_modules'],
      keepReleases: 2,
      key: '~/.ssh/id_rsa',
      branch : 'master',
      //shallowClone: true - в моем случае создавало проблемы
    },
    staging: {
      servers: 'user@myserver.com'
    }
  });
};
Start deploy very easy, just do a single command. Open console, move to the project root and run:
$ shipit staging deploy
or to rollback:
$ shipit staging rollback
The variables that were used in shipitfile.js
- workspace - directory on the local machine for the preparation of deployment
- deployTo - directory on a remote server for deployment
- repositoryUrl - URL to repository of project
- ignores - array of ignore files and directories when performing deployment
- keepReleases - the number of versions that are stored on a remote server
- key - address of key for ssh, if your keys in the standard location ~ / .ssh then this option can be omitted
- branch - a branch for deployment
- staging - name rules for deployment
After running on the local machine you will have a folder /tmp/github-monitor with current version of your code.
On the remote server in the directory /var/www/site wiil be your deploy.

In the "releases" stored 5 versions of your deploy. Folder "current" always refers to the last deploy.
If it is WEB application that DocumentRoot of your site must refer to the "current" folder.
<VirtualHost *:80>
    ServerAdmin webmaster@localhost
    ServerName site.com
    ServerAlias www.site.com
    DocumentRoot /var/www/site/current
    <Directory />
        AllowOverride All
    </Directory>
    <Directory /var/www/site/current>
        Options Indexes FollowSymLinks MultiViews
        AllowOverride all
        Require all granted
    </Directory>
    ErrorLog /var/log/apache2/site-error.log
    LogLevel debug
    CustomLog /var/log/apache2/site-access.log combined
</VirtualHost>
That's all. Deploy is ready.
Underwater rocks
When a deploy, the owner of the file is the one the user under which you are logged over SSH. If your web server creates temporary files or by the nature of the site's activity it saves files, they get the www-data owner. And here the problems begin with deployment. When you already have 5 versions of deploy and you do the 6th, then very first version of deploy should be deleted, but since it has a user www-data files it will not work. The solution is to perform deploy as root, but it may not be safe in the future.
Additionally
Example deploy configure multiple scenarios. File of shipitfile.js:
module.exports = function (shipit) {
    require('shipit-deploy')(shipit);
    shipit.initConfig({
        default: {
            workspace: '/tmp/github-monitor',
            deployTo: '/var/www/site',
            repositoryUrl: 'https://github.com/user/repo.git',
            ignores: ['.git', 'node_modules'],
            keepReleases: 2,
            key: '~/.ssh/id_rsa',
            branch : 'master',
            //shallowClone: true - в моем случае создавало проблемы
        },
        staging: {
            servers: 'user@myserver.com'
        }
        dev: {
            servers: 'user@dev.myserver.com'
            keepReleases: 1,
            deployTo: '/var/www/devSite',
            branch : 'develop',
        }
    });
};
Open console, move to the root of the project. And now we can do deployment to staging or dev.
Run deploy to staging server:
shipit staging deploy
Run deploy to dev server:
shipit dev deploy